Table of Contents
Bootstrap
The Bootstrap Template enables you to create a simple website, which you could use, for example, to organise and present learning materials for a course or course module. If you are able to author a range of page types using Xerte Online Toolkit (XOT), then using the Bootstrap Template should be fairly easy, as many of the basic principles are the same. Many of the resources created by the Xerte community have been produced using the Bootstrap Template.

More information on sub-templates.

Example demo
This Introduction to Bootstrap site was created using the Bootstrap Template. It has a simple design (and there is a lot more you can do round design, for example of the header), but it also provides a comprehensive guide to the functionality of the Bootstrap Template. In this wiki, this site displays much as it would on a smartphone. If you open it in a new tab (see below) it will display differently.
or view at Introduction to Bootstrap (opens in new tab)
Bootstrap Structure
A Bootstrap project comprises Pages and Sections within those pages. A project can consist of only one Page, if that is all that is needed.
 A Page Title will appear as either;
- a tab below the header (on large screens)

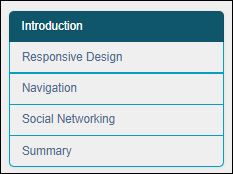
 A Section Title will appear as an item in a menu that displays either;
- on the left side of the screen (on larger screens)
- or at the top of the screen (on smaller screens).

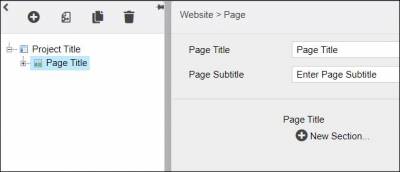
 When you start creating your Bootstrap project, you will see that the first page is in place. You need to give a Page Title, and (optionally) a Page Subtitle. These are displayed in the header for the page.
Project: Optional Properties
Page: Optional Properties
Section: Optional Properties
Adding content
Next you need to add content to the page; there are 8 different types of content you can add. Click on the headings below to open up information about each one.

Advanced Options
For any section in the Bootstrap you can also show the Advanced Options from the bottom of the editor window:

This reveals options to add custom Javascript or HTML code, or add a canvas.

